
 by Mike Brooks |
Last Updated: July 6, 2026
by Mike Brooks |
Last Updated: July 6, 2026 If you’ve recently branched out and treated yourself to a FLSUN Super Racer (SR) 3D printer, you’re likely already aware that this is a high-quality, fast-performing unit as is, but installing Klipper is the next organic step to enhancing your FLSUN Super Racer printer to an even higher speed and better performance and control.
Installing Klipper on your FLSUN Super Racer printer isn’t as straightforward as any old computer-based installation, so if your experience with 3D printing and firmware is at a novice level, it may be wise to seek advice from a professional.
If you feel confident enough to proceed with the installation yourself, you will need to follow this step-by-step guide.
What is Klipper?
Klipper is firmware that is designed for 3D printers. How it works is it will combine a microcontroller (either one or several) with a general-purpose PC to utilize extra computing power from the Raspberry PI, allowing the printer to share the task of printing between each board.
It is effective software (which is free, FYI) that enables your 3D printer to harness more sophisticated processing to allow for finer detail and smoother process during printing.
In a less technical definition, Klipper is the communication between your printer hardware and software, which translates the g-code commands that the unit uses to print a 3-dimensional object.
Why Use Klipper Firmware?
You may currently be using Marlin firmware and may be wanting to make the jump to Klipper, owing to its growing reputation for being superior to the likes of Marlin or other options like Smoothieware.
Your firmware is a key component of your machine because it controls the performance of the entire printing system. While you’ll also need hardware and software, firmware influences its overall operating efficiency.
Benefits of Klipper
- It has certain features that can elevate the performance of all hardware – even older models. This means if you are using something older, like an 8-bit RAM with Marlin, which will only produce 10k steps, you can opt to install Klipper instead of Marlin and will see the hardware perform over 100,000 steps per second. Obviously, the more modern the hardware, the more steps per second you will get.
- Better quality of printing. Because Klipper utilizes the built-in algorithms and additional computing power, it harnesses precision over the control of printing outcome, including fewer vibrations (which is a known problem with all Marlin-using printers), meaning a smoother, more finessed print.
- Faster print speed owing to the aforementioned additional computing power per the Raspberry PI, which divides the print work between 2 boards, resulting in more actions being performed within the unit and a quicker printing time.
- Dimensional accuracy: Again, owing to the superior techniques that Klipper offers, there is more control of the stepper motor movements (even at the accelerated speed) because the movements are smaller and with less vibrational impact, meaning more accuracy over the dimensions of your object.
How to Install Klipper on FLSUN SR (Super Racer)
To install Klipper on FLSUN SR, you will need certain tools:
- A USB cable (A-male to B-male) & OTG Micro USB cable
- Raspberry PI Zero W
- MainsailOS or FluiddPi
- SKR 1.3 FLSUN Klipper config
- An SD card
Side note: Owners of the MKS Robin Nano V3 board will need to ensure the correct installation and that the correct config is implemented.
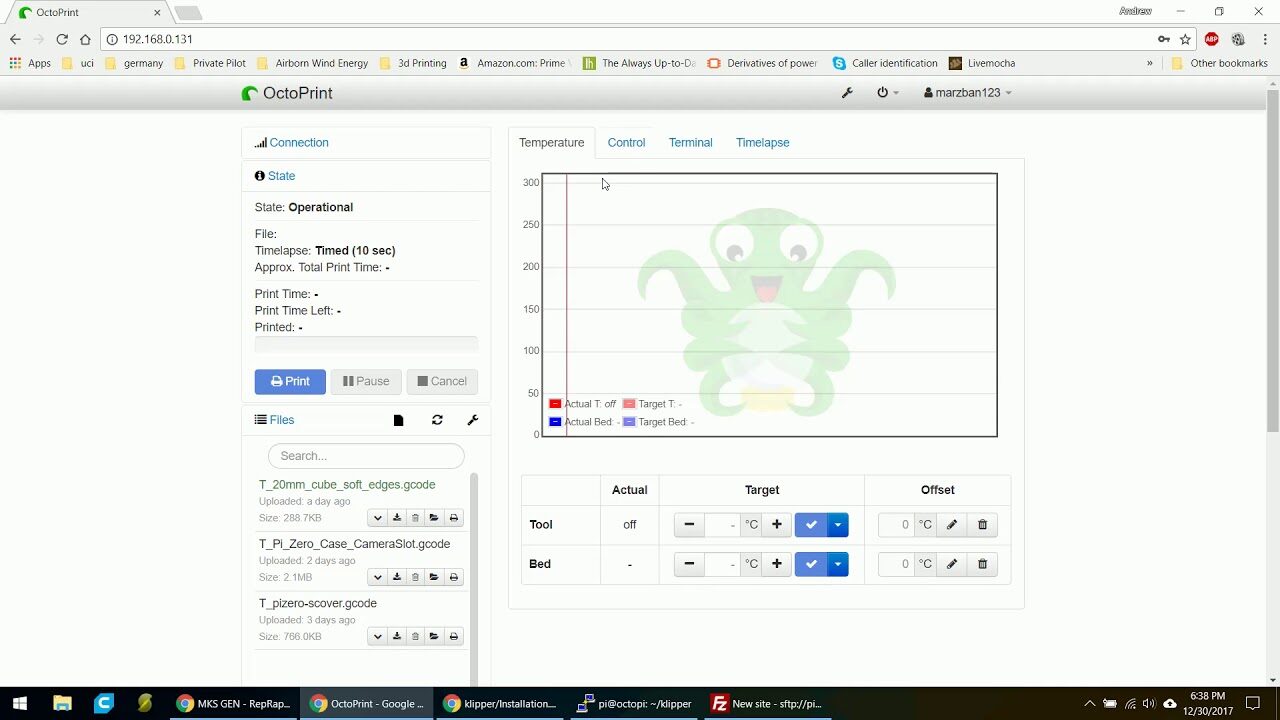
Youtube: https://www.youtube.com/watch?v=ZtDrTktA72Y
GENERAL DISCLAIMER – Again, if you’re a novice in the area of 3D printer installations – please consult a professional, as this is merely a guide, and we are not responsible for any damage during the installation process.
Step 1 – Install FluiddPI
You can flash FluiddPI on your SD card. This installation will go onto your RaspberryPI.
- Download the FPI image & unzip it.
- Download and install Win32 Disk Imager and open it.
- Upload the .img file and choose the correct SD card drive.
- Click on “Write.”
- Edit & set your WiFi credentials to “auto-connect” (if your setup is wireless).
Step 2 – Connect Raspberry PI to FLSUN SR Board
This is where you’ll need your micro USB and OTG cable.
Step 3 – Install Klipper Firmware for FLSUN SR
Here you will need to download Putty Configuration, input your Raspberry PI IP, and click “Open”.
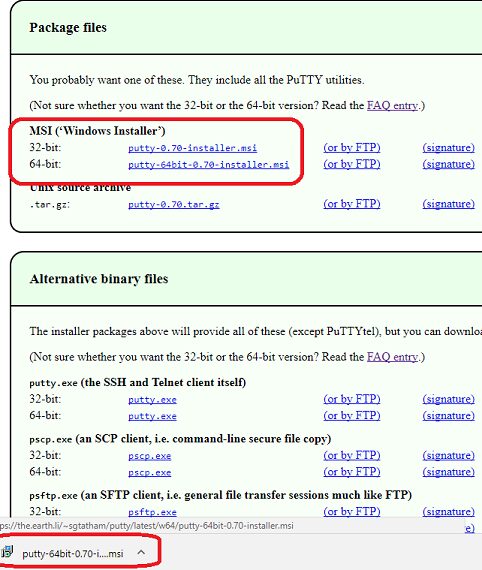
You will then be asked for a login, for which you will need to use your FluiddPI credentials. You won’t need to create a password, as there is a default one set already, which is raspberry. You will then be taken to the SSH console of your FluiddPI installation.
Step 4 – Enter Your Klipper Folder
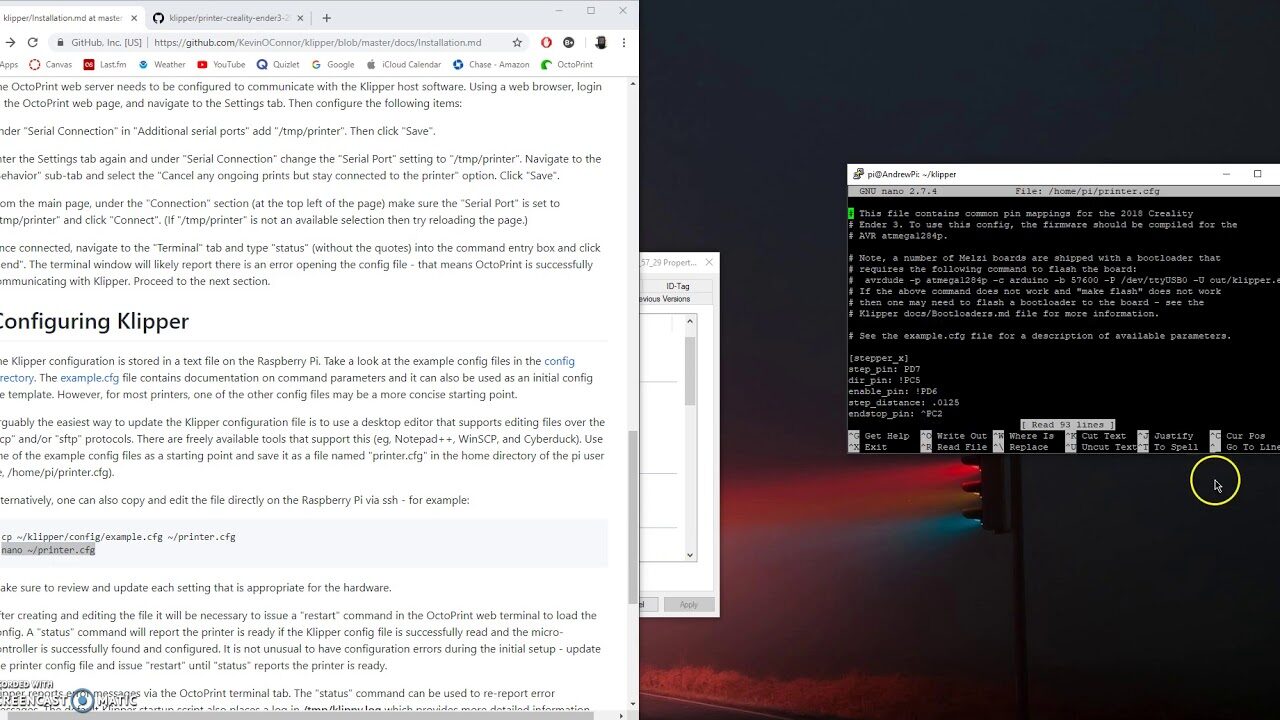
You will need to open the Klipper Firmware Configuration using this:
make menuconfig
Menus will appear, and you will need to click on GPIO pins to set at micro-controller startup (NEW). Once you’ve done this, click Q and then Y to save your config.
Step 5 – Start Building Your Firmware
Once you’ve saved your configuration, you can start building the firmware by running the command that says:
make
When this process is complete, you are ready to install your firmware. You will need to do so from the SD card.
Youtube: https://www.youtube.com/watch?v=ot7uP8ulvUk
Klipper FLSUN Super Racer: FAQs
What is Klipper Screen?
Klipper Screen is a touchscreen program that connects the firmware via Moonraker and creates a GUI to help support and control your printer. You can run it via another host, meaning you can install it on another device, config the IP address, and use the printer.
It effectively allows you to switch between more than one printer to gain access from a singular location.
What does bed mesh do?
This is a type of module that has certain features that atone for any bed surface issues, which results in a better-quality first layer across the bed.
Please note: Bed mesh module will not eradicate any electrical or mechanical malfunctions. More information about the bed mesh module can be found here.
What are the best features of Klipper?
- Custom programmable macros to save time
- Input shaping reduces quality-affecting vibrations during the print process (unlike Marlin).
- Supports delta, polar, cable winch printers, and more
- Supports almost all printer hardware
- Temperature presets
- You can exclude certain parts of your print.
Where can I find a Klipper FLSUN Super Racer tutorial?
If written instructions aren’t your thing, perhaps visual knowledge is! Click here to watch a tutorial to support you through your firmware conversion process.
Where are the Klipper config files?
You can find these files in the config directory on the Raspberry PI. More information can be found here.

Recommended Reading
How to Update FLSUN Super Racer Firmware?
If the time has come to update your FlSUN Super Racer (SR) firmware, this article shows you how to do just that quickly and easily.
Best FLSUN SR Cura Profile & Settings
Are you thinking of downloading Cura to your FLSUN Super Racer 3 printer and wondering what the best profile and settings are? Find out here!
Best FLSUN Super Racer Upgrades: Paid & Free
The following hardware upgrades can help your Super Racer deliver even better prints.