 by Mike Brooks |
Last Updated: July 3, 2026
by Mike Brooks |
Last Updated: July 3, 2026 In terms of high speed and exemplary printing quality, the FLSUN Super Racer (SR) is one of the best delta 3D printers on the market – but you need the right cura profile to ensure great quality and error-free printing.
Cura software can help you prepare your prints, enhance your print speed, and even integrate with CAD software to ensure a better final printing result – and it’s completely free to download.
If you’re in the dark about looking into the right Cura profiles and settings, the good news is the default profile for the FLSUN SR is a good place to begin optimizing your printing experience.
However, if you’re looking to go one step further to up your 3d printing game, this article helps you choose the best Cura profile and settings for your FLSUN Super Racer printer.
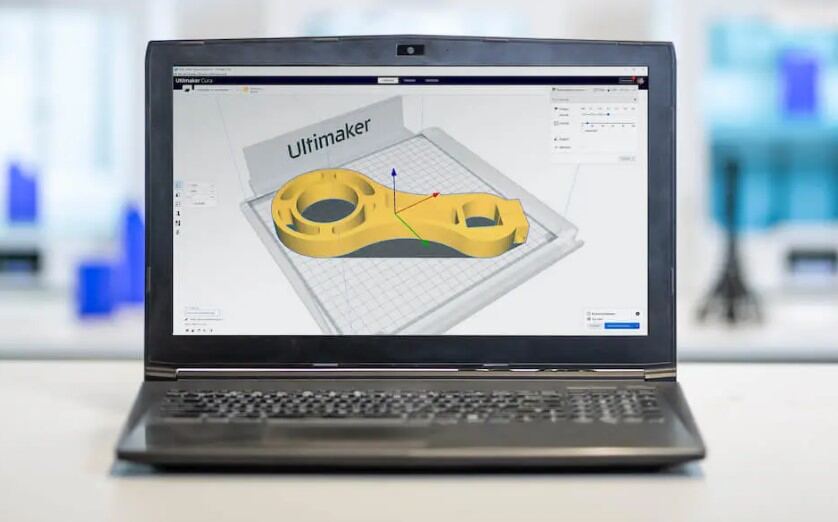
What is Cura?
Ultimaker Cura is software designed for 3D printing and is known to be one of the most popular and reliable printing software used by users across the globe. It is easy to use – even for 3D printing newbies – and it’s also free!

Why is Cura Great for 3d Printing?
Cura software comes with multiple benefits:
Easy to Use
You don’t need to be an experienced 3D printing pro to make use of this software.
Cura is open-source software that comes with recommended settings that allow you to prepare your 3D model in a few minutes and lets you choose which speed and quality settings you require.
Whether you’re in the 3D printing game for commercial purposes or merely as a hobbyist, you can utilize Cura to elevate your printing quality and speed.
Expert Slicing Features
Cura harnesses a powerful open-source slicing engine, which comes with the following:
- A custom/default mode with 400+ settings for full granular control
- Expertly recommended profiles
- Regular, free updates to constantly improve print quality
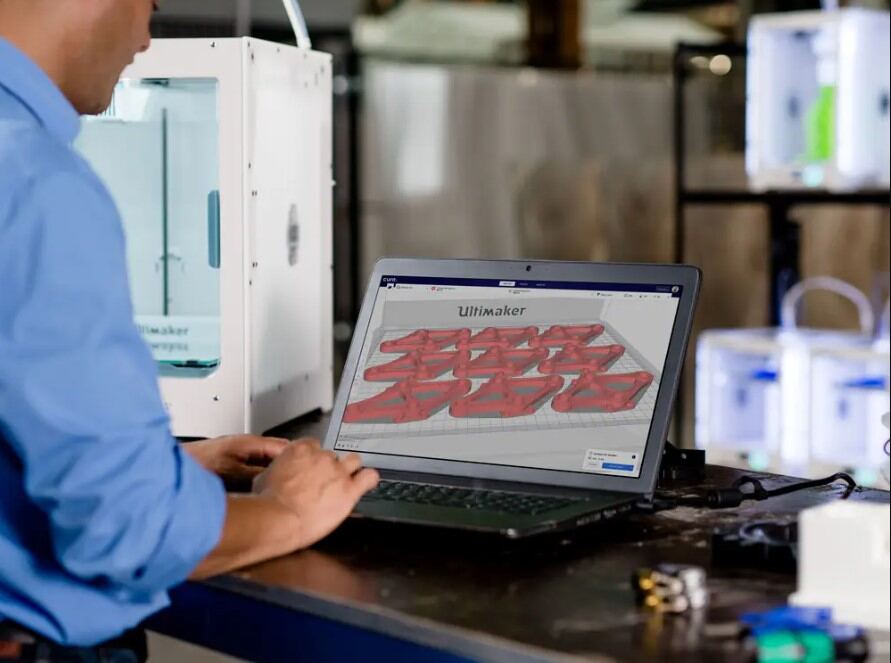
Integrated Workflow
If your 3D printer is fundamental in your professional role, you’ll know that having expert software matters.
With Cura, you can:
- Seamlessly integrate this software with other products
- Integrate your CAD plugin with other printers
- Use various file types, including GIF, PNG, JPG (and more)
Useful Downloads (Using Ultimaker Marketplace)
- You can download material profiles from brands you collaborate with.
- You won’t have to worry about manual setups if you use third-party resources.
- Customize your print experience by downloading beneficial plugins.
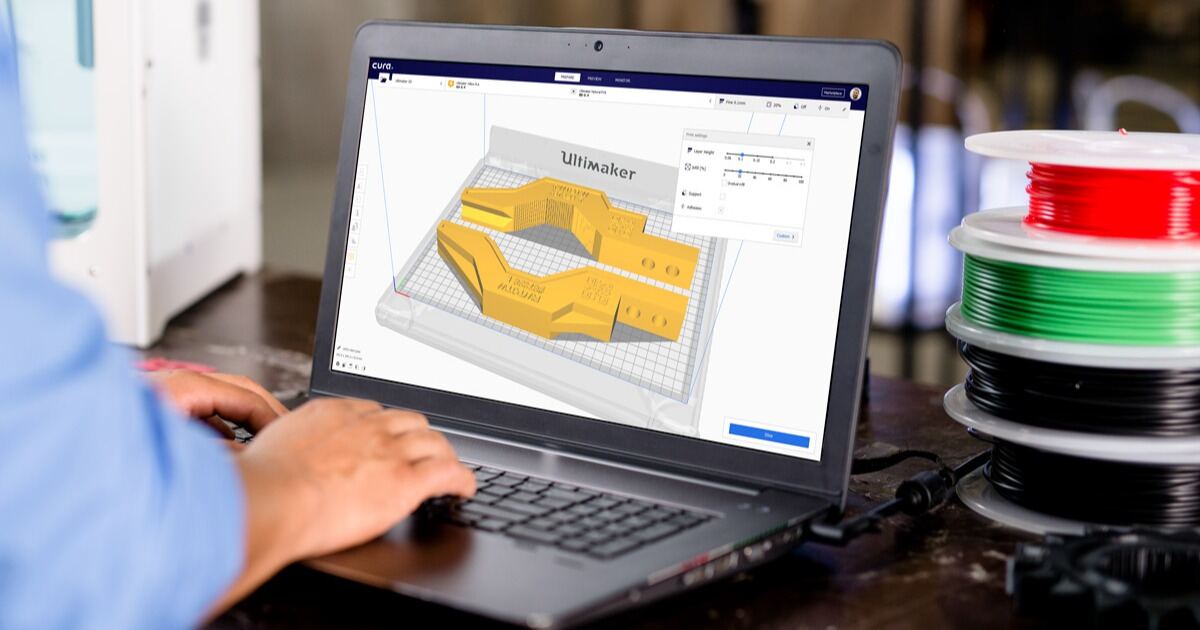
The Best Cura Settings for the FLSUN Super Racer (SR)
So, you’ve downloaded your Cura software to your FLSUN SR – now what?
You’ll need to select the right settings. In this part of the article, I will focus on the individual print settings for the Super Racer.
Setting the Best Temperature
If you’re experienced in the wonderful world of 3D printing, you’ll likely understand how important temperature is.
When troubleshooting your 3D printer, the most common culprit is an incorrect temperature, particularly temperatures that are too high. This can produce what’s called ‘stringing’ or ‘threading,’ which occurs when hot plastic escapes from the nozzle when in use, leaving a thread- or string-like effect between the objects.
Low temperature is also a problem. If the temperature is too cold, this can create holes within the object or may affect the creation of poor adhesion to the print bed. This drastically affects the print quality, and you may find cracks within your printed object or peeling of the individual layers.
Print bed temperature is important. The best temperatures for your FLSUN Super Racer print bed in Cura are:
- 60 degrees C (PLA)
- 100 degrees C (ABS)
- 70 – 80 degrees C (PETG)
The print bed temperature plays a key role in the adhesion process. Depending on the filaments and material of the object you wish to print, the ideal temperature for FLSUN Super Racer is 60 – 80 degrees C.
Print Speed
The FLSUN Super Racer is known for its exceptionally high speeds, which can reach 200 mm/s. It features a light print head, which allows for this high print speed. However, just because this print can reach this print speed, it doesn’t necessarily mean it should.
In short – the higher the speed, the more chance there is for print errors. If your print quality requirements are high, opting for a lower print speed is wise.
The best printing speed for your FLSUN Super Racer in Cura is 100 mm/s to 150 mm/s for PLA, ABS, and PETG.
Layer Height
Depending on the smoothness you require for your printed object, you may need to tweak the layer height. Basically, the smoother the surface you require, the lower the layer height should be.
If saving time is a factor, increasing the layer height will speed up the process. In terms of thickness, here are the best options:
- 0.3 mm (coarse prints)
- 0.20 mm (standard)
- 0.05 – 0.15 mm (decorative)
Flow Rate
The flow rate serves to discern how much filament is forced out per unit (this is called ‘extrusion’). This is measured in percentages, and applying the incorrect flow rate may cause over-extrusion or under-extrusion.
You will need to calibrate the flow rate before you start printing.
Ideal flow rates for your SR in Cura:
- 100% (default value)
- 101 – 110% (under-extrusion)
- 90 – 99% (over-extrusion)
First Layer
Accurate settings are needed to ensure the first layer is printed correctly – otherwise, you risk ruining the entire print.
The best settings for your SR in Cura to ensure a good printing result are:
- 100% – 110% (flow rate)
- 100% – 200% (layer thickness)
- 50% (print speed)
- 100% – 200% (line width)
- 5-10 degrees C higher than rest of object
Retraction Settings
Retraction is what happens when the filament is pulled back into the nozzle after an extrusion. Retraction serves to help prevent the stringing or threading effect we mentioned earlier.
So, naturally, if your retraction settings aren’t correct, you will be left with a print with thin threads of plastic (stringing). It can also result in a number of other issues that can affect the outcome of your print quality, such as bad layer adhesion.
Because the values differ per 3D printer, it can be wise to experiment with retraction calibrations, but a good starting point for these settings is 6.5 mm at 40 mm/s (PETG, PLA, and ABS).
Infill
The material that is printed inside the print object is known as the ‘infill.’ The infill is measured in density and the settings depend only on the print object (and its purpose) – not the printer itself.
If you’ve downloaded Cura to your FLSUN Super Racer, here are the best density setting for the infill per objects:
- 15% – 50% (standard)
- 50% – 100% (sturdy)
- 0% – 15% (decorative)
Calibrating Cura for Your FLSUN Super Racer Printer: A Guide
Good quality printing depends on good settings. Once you’ve got your settings mentioned above sorted, you will need to calibrate to test to see whether these settings have improved the quality of your printing.
To do this, you will need to provoke printing errors by using certain printing objects that do just that (more on this shortly).
Calibration objects can be found in the Calibration Shapes plugin in Cura or on various portals such as Cults3D.
Calibrating the Printing Temperature
The best way to do this is by using a temperature tower. This is because the shape of the object has individual layers, which will provoke printing errors by processing at an incorrect temperature.
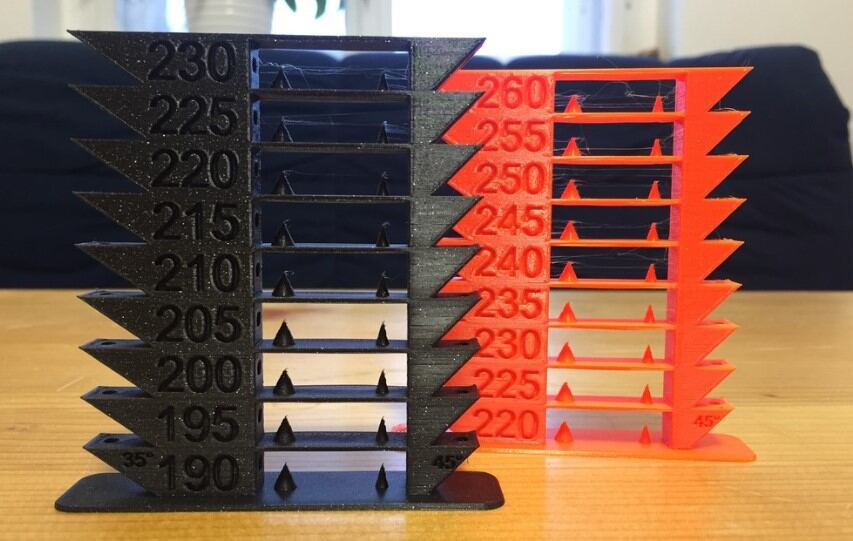
The temperature will change during the printing process per layer. By doing this, you can see at which layer height the best temperature is by the outcome of the print at that particular level.
Calibrating the Flow Rate
The way to tell if the flow rate settings are accurate is by checking if the filament line width and height match the value set in Cura. You can test this by printing an object where it is easy to discern the wall thickness. A useful object to do this would be a hollow cube.
Calibrating the Retraction
As mentioned earlier, incorrect retraction settings will likely result in the unwanted stringing effect. The retraction has 2 values (distance and speed), and the obvious sign that the settings aren’t right will be the presence of this stringy plastic.
Change these values (one at a time and only when the printer is not in use) to find the optimal value.
Improving Your 3D Print Quality: Top Tips
If you’ve installed Cura and you’re finding that there is still room for improvement within the quality of your printings, here are some of the best ways to improve the final products of your Delta 3D printer:
Calibrating Temperatures
As we mentioned earlier, the temperature is crucial for the quality of your work. So, with this in mind, it could be worth calibrating your bed temp and nozzle.
If your nozzle isn’t at an optimal temperature, you may find you’re experiencing some print defects. Recommended temperatures per filament include:
| Filament | Print Temp | Bed Temp |
|---|---|---|
| PETG | 220-250 degrees | 50-75 degrees |
| PLA | 190-220 degrees | 20 – 60 degrees |
| ABS | 210 – 250 degrees | 80 – 110 degrees |
Lowering Layer Height
A typical 3D printer layer height is 0.2 mm for a nozzle size of 0.4mm. If you wish to exceed this layer height to 0.5 mm, you will need a smaller nozzle.
Whatever your printing model is, experiment with layer heights to find the right quality for your needs.
Stabilize Your Printer
This will help you to prevent the dreaded vibration issue.
Sometimes the components within a 3D printer will cause vibrations (sometimes known as ringing), which will affect the print head, which in turn, will, of course, affect the quality of your final product.
An easy way to avoid this is by making sure both the printer and its components are secure and in place. Here’s how to do that:
- Make sure your printer is situated on a flat, even, secure surface.
- Add weighted objects to the static parts of the unit.
- Look into purchasing vibration-dampening pads (which go under the unit).
- Make sure all internal components are secure and in place. Contact the supplier if need be.
- Lower the printing speed on an object to see if this is the issue. Higher speeds on certain models can be notorious for vibrations.
Nozzle Replacement
Nozzles need to be regularly checked and replaced, as, over time, they are prone to wear and tear (particularly brass nozzles).
You can change the nozzle yourself. Here’s how to change your printer nozzle:
- Preheat your unit to your usual printing temperature (be careful not to burn yourself – PPE gloves may be required).
- Unscrew the heat sink fan.
- Use something like pliers to hold the heater block in place and unscrew the nozzle with something like a small wrench.
- Attach your new nozzle – don’t screw it too tight.
Check the Print Bed Level
Adjust it to the correct level by using the Z offset. Once you’ve done this, you will find your first layer should have perfectly adhered to the print bed. You can do this manually, but it is easier to install an automatic bed leveler system.
Correct Filaments Storage
You will need to do this both pre- and post-printing, and they will need to be stored in a safe, clean, dry environment. Filaments are extremely delicate, so it is imperative moisture is kept away from a filament at all times.
If you find one of your filaments has come into contact with some moisture, it may still be okay to use – just make sure you gently dry it before inserting it into the unit.
Silk Filaments
Speaking of filaments, if you’re not doing so already, opt for silk filaments. Silk has better elasticity than other filament materials, and because of its glossy nature, it provides a finer outcome for your model.
Tweak Your Cooling Settings
Some 3D printers include cooling fans to help regulate their temperature. Different filaments require different cooling needs, and if the right one isn’t implemented, it can have a ‘drooping’ effect on your model.
Please note: ABS and PETG materials do not need cooling during the print process, so be sure to switch them off prior to printing, or at least keep them set to the lowest temperatures.
Change Your Print Bed
This will help you improve the quality of your first layer and provide different finish textures by investing in different types of build plates.
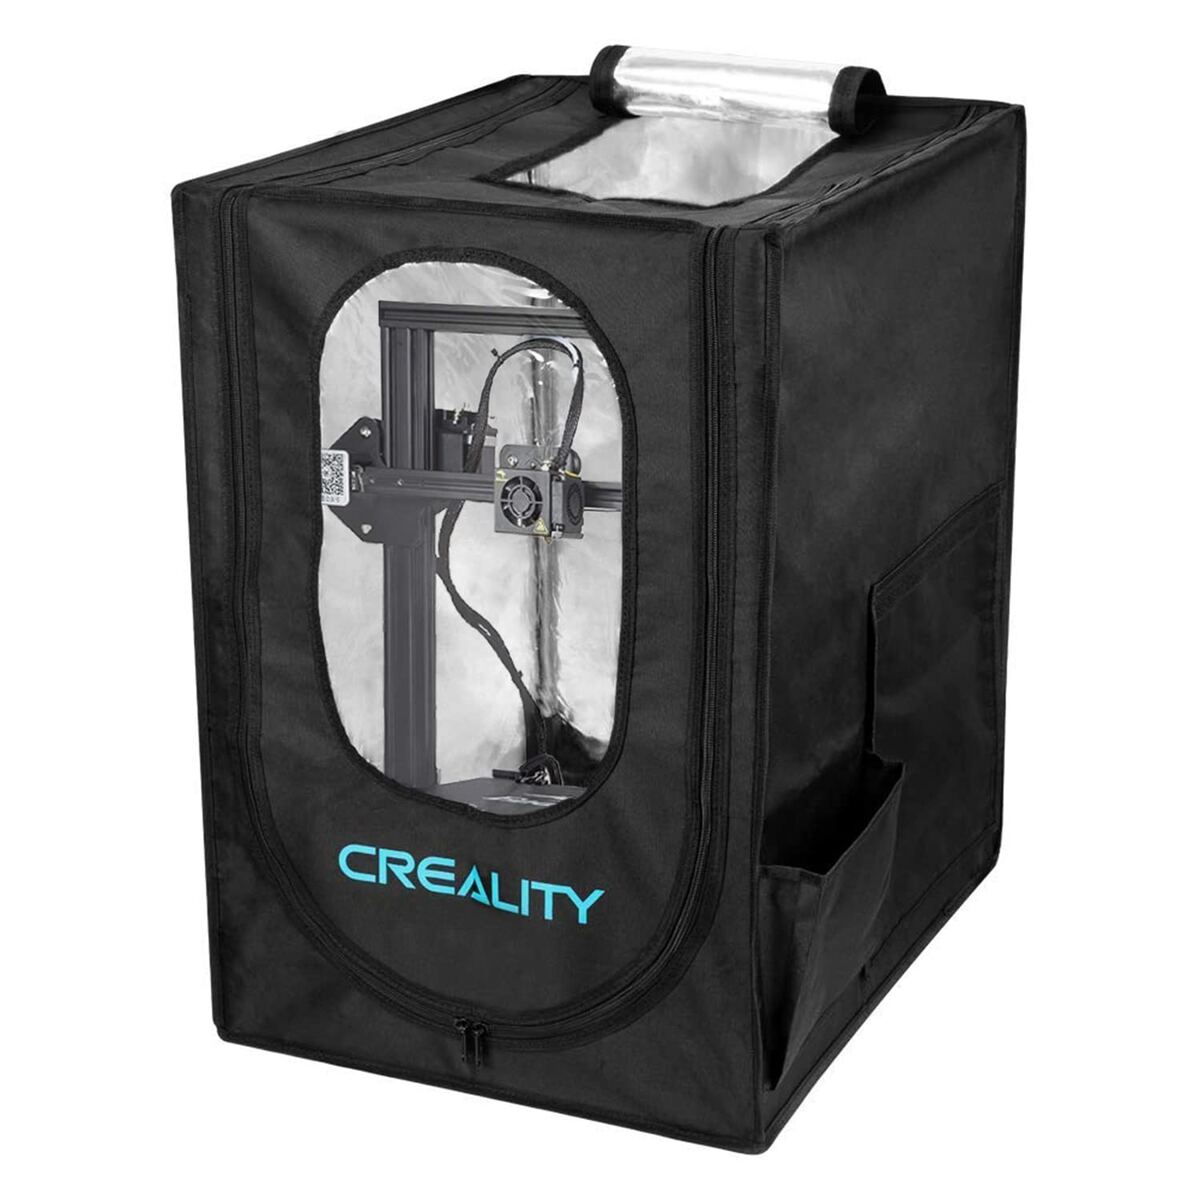
Enclosure
Again, this goes back to how important printing temperatures are.
Using an enclosure, you can ensure the print cools slowly and evenly. It will also prevent any rogue air gusts from making contact with the fresh print and impacting the correct cooling environment.
This can be particularly useful for certain materials, such as ABS and PETG, which are particularly sensitive to changes in temperature.
It also helps prevent other printing issues, such as warping.
You can purchase an enclosure from reputable 3D printer retailers or eCommerce sites.
FLSUN Super Racer Cura Print Settings: FAQs
What is the best print speed with Cura?
When you install Cura software, you will find that its default print speed (50 mm/s) is absolutely fine for most printing needs.
Depending on the object you’re printing, opting for a lower speed may improve the quality. It’s worth playing around with speeds with different types of materials and objects, as you may find the default speed is fine, or dropping a bit lower to 35 – 40 mm/s may be what’s needed.
What infill pattern is the strongest for 3D printing?
Triangular infill is your best option here because triangles are considered to be the ‘strongest’ shape. They provide the best support structure within the printing process and are less likely to cause any print defects.
What is the minimum thickness for 3D printing?
At present (and this may change due to the continual advancement in technology), 0.6mm is the absolute minimum wall thickness in 3-dimensional printing.
Does Cura work with any printer?
Yes, Cura is compatible with almost all printer types.
How do I connect my 3D printer to Cura?
Once you’ve downloaded your Cura software, here’s how to connect it to your FLSUN Super Racer printer:
- Launch the software on your device that is synced with the printer.
- Click on the “Add Printer” option.
- Click on “Add a non-networked printer.”
- Choose “Custom FFF printer” from the “Customs” section.
- Click “Add.”
Your software should now be connected to your printer. You may need to restart your device or unit.
How do I install Cura software?
Here’s how to get the software ready for your 3D printing:
- Log on and go to Ultimaker Cura, find the OS and download the installer.
- Run the installer.
- Open UC & read the agreement, which will be on the “Welcome” page.
- Select “Add a printer.”
- Select the radio option.
- Click “Finish.”
Does Cura have an app?
It does, indeed. You can download it for free from your Google Play or your app store of choice.
