 by Mike Brooks |
Last Updated: June 24, 2022
by Mike Brooks |
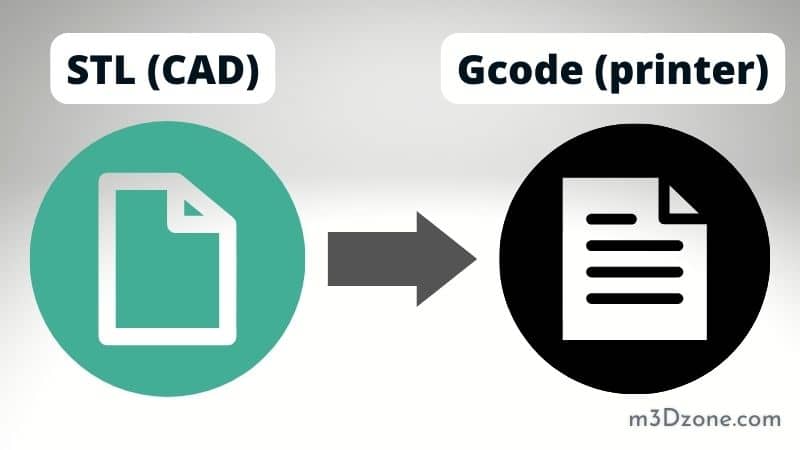
Last Updated: June 24, 2022 The most popular file format for 3D models is the STL format. However, most manufacturing systems require G-code.
Slicer software converts an STL to G-code. The high-level slicing process will guide you from an STL file format to a 3D printed part.
Our article will guide you step-by-step on how to convert the STL to G-code for your 3D printer. Let’s get started on how to convert STL into Gcode.
Quick Navigation
So, How Do You Convert STL to Gcode File?
Open the STL file in a slicer to begin the slicing process. Adjust the parameters to meet your needs, scale, and quality preferences. Then, press “Slice” and viola. A bespoke G-code file ushers the model into reality!
Models created in 3D modeling software must be saved as STL files and then sliced into layers before printing.
What Is an STL File?
STL files describe 3D objects mathematically and are the 3D output of CAD systems. Chuck Hull of 3D Systems invented STL in 1986. Standard Triangle Language (STL) and Standard Tessellation Language (STL) are the backronyms of STL.
STL file format describes only the surface geometry of 3d objects and other information. Such descriptions store and convey data models as small geometric forms that comprise the subject’s surface.
4 Easy Steps for Converting STL Files to G-code
Step 1: Slicing Program Installation
The slicing process in 3D printing may best be appreciated by first taking a step back and examining the printing process itself. You must install slicing software on your computer. The slicer will prompt you for the file types it supports during and after the installation process.
You can choose from Stl support, Arduino support, and g code support. A wide range of excellent slicer programs is available for free download. There are several slicer programs available on the market, and here are popular options to choose from:
- Eiger
- Slic3r
- Repetier
- FlashPrint
- Simplify 3D
- Ultimaker Cura
- OctoPrint
- PrusaSlicer
- AstroPrint
- SuperSlicer
- MakerBot Print
Whichever slicer you choose is essential. However, some slicers vary in terms of features and ease of usage. They all perform the same thing by converting a 3D model into a format that 3D printers can interpret.
Step 2: Printer Profile
You will first need to configure your 3D printer settings before using a slice. The slicer already has the printer profile for many consumer printers. However, custom builds necessitate these steps:
- Choose the custom option on your printer.
- Add Printer.
- Go to Bed Type.
- Select G-code type.
- Add Print-head measurements.
- Add the difference in height between the nozzle and z-axis to the gantry height.
- Add extruder offset where necessary.
You won’t need to change anything in most circumstances because the default configuration is ideal. However, if you want assistance or changes to other advanced parameters, you may access the printer’s settings tab by clicking the settings icon.
Step 3: Import STL File
After setting the printer profile, import the STL file from the slicer’s import option. The slicer displays your model. You will need to make some adjustments to your print settings before you press the slice button:
- Choose a material type.
- Choose the print speed.
- Select gradient infill to save on filament and time.
- Add support.
- Choose adhesion type based on the type of filament you are using.
Step 4: Slice the Object Into G-Code
Before you convert STL files to G-code format, thoroughly read the handbook or e-manual provided by your filament provider. It specifies the relevant settings and parameters based on the material type given.
It is now possible to observe your model’s transformation into a stack of numerous levels once you have completed all of the settings.
Adjust the layer height, infill percentage, printer bed temperature, print speed, and wall thickness in line with the printing material you’re using to get the desired quality.
Reduce the layer height to create a clean surface finish. You’ll notice the number of layers and an approximate print time. When asked where to store the file, click on save or select a destination to save.
What to Consider When Slicing
Slicers examine a model and generate machine code. The “slice” button in the slicer converts STL to G-code, but what comes before determines how your object is produced. What affects slicing an STL file include:
- 3D Printer Model
Some slicers feature prefilled settings for certain 3D printer models. However, the user is in charge of fine-tuning the slicer.
- Type of Filament
Speed, temperature, and more must be modified based on the printing material. However, always check out fundamental profiles for ABS, PLA, PETG, etc.
- Desired Quality
Layer height, infill percentage, print speed, and wall thickness affect model display and quality.
Creating G code in Cura [VIDEO]
FAQ
How Do You Convert STL to Gcode?
Drag & drop the STL file or select the “Choose File” tab to begin the conversion process. In the window that appears, click “Convert”.
You may download the GCODE file after the STL to G-Code conversion is complete. Mesh conversion is fast. You can convert STL to G-Code in a matter of seconds.
What Is the Difference Between STL and Gcode?
G-code represents printer parameters like speed, temperature, and the geometry of a 3D object. The instructions from the g-code show how your 3D printer should position each layer of filament for a quality print.
On the other hand, an STL file is a standardized 3D file format that 3D designers, architects, and others can read.
Does Cura Convert STL to Gcode?
You generate a g-code via slicing and saving the file in Cura. Transfer the file to your printer. You may now print it. The file you save will be translated to g-code. G-code is a language the printer uses to make 3D prints.
What Files Can Be Converted to G-code?
There are various file types that you can convert to G-Code. The G-Code conversion procedure will be a breeze if you start with a vector image and utilize trustworthy conversion software.
Some of the popular vector file formats include Design eXchange Format (DXF) files, DraWinG (DWG), and Scalable Vector Graphics (SVG).
What if you have a raster file, to begin with? DXF, DWG, and SVG files do not require vectorization. Therefore they may be exported straight to G-Code in their native format.
Do STL Files Have Dimensions?
An STL file includes the coordinates of every vertex of every triangle that may be subdivided from a surface. However, it does not include the STL model physical measurements. Instead, you can create a 3D model having precise measurements in millimeters.
3D printing works as expected when STL files are converted to G-code and printed by a printer. STL files are imported into a slicer, which displays the product in its precise dimensions as they were set up.
Conclusion
Now that you’ve learned how to convert an STL file into G-code, you’re ready to put that knowledge to use. Converting an STL to G-code is necessary and this article explains how to slice and print 3D models on any 3D printer.
If you’re having trouble converting STL files to GCode, our article on the subject should have been of assistance. Please use the contact page if you have any queries or concerns.

Recommended Reading
3D Printing Ironing. Make Top Surfaces Super Smooth!
What is 3D printing ironing? Smoothing 3D printing by ironing involves using heat on flat surfaces. When do you employ ironing? Come inside and let's find out!
3D Printing Infill. Ultimate Guide for Choosing Infill Percentage.
3D printing infill facts. The infill density determines the final strength of the printed object. It influences the quantity of the filament, printing time...
Educational 3D Printing. 3D Printers in Education.
In short educational 3D printing refers to using the new technologies in 3D printing explicitly designed to help students learn. Let's find out how!