 by Mike Brooks |
Last Updated: March 2, 2022
by Mike Brooks |
Last Updated: March 2, 2022 When it comes to 3D printing, there are a lot of terms to learn. But one that you might have heard of lately is shell thickness.
Shell thickness has a significant impact on the outcome of your prints. In this article, we focus on the best way to acquire the ideal shell thickness settings.
Quick Navigation
It depends completely on the durability and strength of your print parts to get the perfect shell thickness.
The least number of walls you can use is two with ten being the utmost. In the account of your personal preference and functionality, you will find the final print has many characteristics and designs.
What Are Perimeter Shells in 3D Printing?
The perimeter shells are the outermost layers of your 3D print design, supporting the rest of the model by providing structural integrity and tracing the exterior outline.
The shell of a 3D print encompasses the object’s wall and its top and bottom surfaces. You can easily set the shell thicknesses of 3D printing projects using the appropriate slicer software.
The shell thickness is primarily set at a multiple of the nozzle diameter. For instance, if you want to get the best shell thickness out of a 0.4mm nozzle, consider using 0.8, 1.2, 1.6, and so forth.
You can determine the number of shells by dividing the wall thickness by the line width. You should also consider the top and bottom layers.
You should maintain at least three bottom layers to provide a strong foundation for your print.
For a good seal during the printing process, you should keep more than three top layers. Two top layers are ideal for working with. However, if you use a lesser layer height, you may notice gaps in the top layer.
It would be reasonable to explore the concepts of shells and infill them together to provide a clear, complete picture of the components that govern the density and strength of a 3D printed object.
The pattern of material inside the shell is referred to as infill. You can set it anywhere from set 10% to 100%. The slicer software allows you to control the infill percentage and the pattern.
Why Do Intersecting Shells Suck for 3D Printing?
When you are 3D printing a model, intersecting shells becomes an issue for the slicing software. That is because the STL format might not prevent the shells from intersecting.
If you try plain cutting the model, the STL format does not know what to do, resulting in a nasty geometry.
As much as it will print a fantastic model, you will notice a few anomalies if you look a bit closer. The slicing software separates the intersecting areas, intentionally ending with a model that can easily fall apart. Most of the slicing software comes up with ways to deal with this prevalent problem.
Under the advanced setting, there is a slicing behavior for non-manifold segments where you can discard or merge all the outlines into a single solid model.
However, you will not fix all the problems as you end up losing internal details.
If you separate all the connected surfaces, it will fix all the problems, and you will create the model as it should be since the slicing software will know what to combine and what not to combine.
If you come across intersecting shells, you can fix them by using free software like Meshmixer, Make solid tool, netFabb cloud service, etc.
Can You 3D Print Bullet Casings?
AM technology has made it possible to fabricate firearm parts. Whether small or large, firearms firms can reap the benefits of additive manufacturing by rapidly prototyping new pieces and components and bringing them to market faster.
With ammunition, you would likely print these materials using different printing technologies that have been out of reach for most reloaders out there.
Ammunition consists of dangerous parts like the primer, which could risk your 3D printer exploding during printing.
Reloaders usually take great care when working with primers by adding them via AM techniques to build themselves into the cartridge. However, additive manufacturing will soon be closer to producing casings and projectiles.
What Are Shells in Cura?
Cura is a 3D object slicing software that you can use in conjunction with a 3d printer to make almost any print model. The wall thickness setting is what you need to make the best out of it when you want to 3D print stronger parts or when you start post-processing your models.
If you print using a brittle or less strong material, your shell thickness is likely to fracture with little elastic deformation after being subjected to stress.
In that case, you need to be enlightened with the overall wall line count settings. When you increase the wall thickness, you create stronger parts and work out finer details without jeopardizing the structure of the model.
Depending on your 3D printer, you should print all parts with a wall thickness of 0.8mm, corresponding to 2 to 3 nozzle diameters.
Models typically printed using a single wall line count easily deform, affecting the dimensional accuracy and the strength of the part.
We recommend using a wall thickness of up to 1.6mm if you want to increase the strength of the printed part. Click on the little gear icon under the quality setting to enable the wall line width.
When you alter the wall line width, the wall line count also changes immediately. For a 0.4mm nozzle, the wall line width in Cura is 0.4mm. Suppose you modify the wall thickness to 1.2mm, the wall line count changes to 3 immediately.
3D Printing Shells and Infill Optimal Parameters
The infill percentage determines the strength, structure, and weight of the 3D print design.
Infill forms what exists within the print object, whereas the exterior walls or perimeters form the outer shell of the part.
We recommend a 15-50 percent infill density for most “standard” prints that don’t need to be very sturdy. This density percentage reduces print time, provides adequate strength, and saves material.
You have to use a higher infill, at least 50%, as they need to be strong for functional prints. However, do not be afraid of going as high as 100%.
To get a heavy and stronger payoff, ensure the setting is high and wait longer for the print to consume more filament.
You should consider using an infill density of 0-15% for smaller figurine models meant for display purposes only. The density value will result in a moderately speedy print with very little filament. If you print your models with this density range, they will be light and not robust.
Any infill density ranging from 1-100% should work for parts printed using flexible materials such as TPU. You should also remember that the higher the infill density, the less flexible the print part will be.
Conclusion
Shell thickness is an important yet overlooked idea by many. If you are a beginner, we suggest starting using Cura to handle these calculations automatically.
If you want to get a lot more scope for customization, you can use much more advanced slicing software, including Simplify3D.
However, this software still leaves much room for possible errors. We hope our article was helpful, and it will help you understand how to set optimal parameters for your 3D printing needs.

Recommended Reading
First Layer Curling. Detailed 3D Printing Guide!
Why does first layer curling happen in 3D printing? Main cause of curling is the temperature difference between the build plate and the extruded filament.
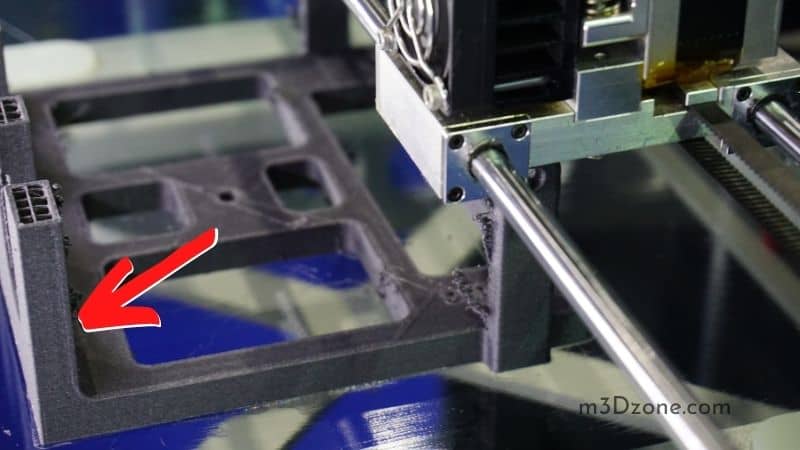
3D Print Stringing. 5 Easy Ways to Fix It & Prevent It!
So, what is 3d print stringing? Stringing occurs when filaments leak through your 3D printer nozzle in places where they shouldn't. Fixing stringing is easy.
3D Printer Thermistor. What It Does in a 3D Printer?
A 3D printer thermistor is a small component in a 3D printer, yet plays a pivotal role in printing. The status of the thermistor should not be overlooked easy...