 by Mike Brooks |
Last Updated: April 20, 2021
by Mike Brooks |
Last Updated: April 20, 2021 Is your 3Doodler or 3D printing pen giving you a rough time when drawing? If the pen has plastic filament clogging its tip, it will not extrude efficiently. It may not even extrude any plastic at all.
As an Amazon Associate, I earn from qualifying purchases. If you make a purchase after clicking on a link I may earn a small commission at no extra cost to you.
A 3D pen may not work due to several reasons. A faulty charging system, incorrect 3D pen adapter connection, and clogged nozzles are the most common reasons. Whenever you try turning on your pen, and it doesn’t power on, try using a different USB cable.
Unclogging the 3Doodler’s nozzles doesn’t fix all the problems it has. You explore every option you can think of, but it still doesn’t work. You are left wondering, why is my 3Doodler not working? Read through this article to understand why your 3D pen would fail to function and how you will fix it.
Why Is My 3D Pen Not Working?
Technology has revolutionized the art of making 3D figures with various 3D pen resources. Artists are now able to improve their doodling skills by drawing 3D art in thin air using these state of the art devices. A problem occurs when the 3Doodler fails to work. Below are some of the problems you would be experiencing with your 3Doodler.
-
3Doodler Start That Does Not Turn On
You have been hired to make 3D art, so you decide to use your 3D pen. Unfortunately, when you try turning the 3D pen on, it doesn’t power on. In such a case, step one is checking your pen’s connection with its power adapter. There is a big possibility that the power cable is disconnected.
To fix this problem, connect the USB charging cable correctly to the power supply. Also, ensure its display is on so that you can check the charging progress with ease. Check for an icon or light indicator.
You can comfortably connect your 3D pen to a power bank or laptop near your working area with a USB power cable. You don’t need to have an electrical socket on the workstation. Be careful when moving around to avoid pulling the charging cable, which would disconnect it.
It is also important to approach this challenge from the power voltage angle. Make sure the power source you use while charging your 3Doodler Start has the required 5V voltage.
If the electrically powered device you are charging with has insufficient power, the 3Doodler Start will not get enough power. Consequently, it will not work if it has no power.
At other times, your 3D pen may be drawing power from a power bank that’s not fully charged. As a result, the pen’s extrusion speed reduces. It will be working, yes, but not efficiently. If you keep drawing at a low extrusion speed, the 3D model you are making will not get the desired shape.
Fixing this challenge is as simple as charging the power bank then powering the pen on again. Also, buy a 3Doodler EDU learning pack at a good discount. The 3Doodler EDU pack comes with a collection of items including non-toxic plastic that will help you in 3D pen lessons.
With the learning pack, you will understand various concepts such as CTE among others. You will get an opportunity to understand where you go wrong in the 3D drawing. Looking for online schools or a web classroom for 3D art lessons is another alternative to improve your doodling skills.
If your 3D pen still doesn’t turn on after exploring these solutions, please contact your 3D pen vendor or company. They will ask a customer service team to help you out or seek the help of a 3Doodler start support team.
-
Why Won’t My 3D Pens Heat Up?
Some people turn on their 3D pens but fail to press the feed button. That’s right! If you turn the pen on and don’t press the feed button, your 3Doodler Start will not begin heating up. Please note that you have to command the 3D pen to start heating up.
Another problem with 3Doodlers is heating up without changing the temperature value on your pen’s display. If you experience this problem, check your 3D pen’s temperature sensor. The sensor is located inside the nozzle.
To fix the problem, solder the sensor wires or replace your old nozzle with a new one. With this quick fix, you will resume your project quickly. Children who are learning how to use 3D pens in different schools also get a chance to actualize any 3D art imagination with functioning 3D pens.
3D support teams often get FAQs about temperature settings resetting. In most cases, the temperature resets after the pen has heated up and a person presses its feed button again.
A faulty motor or motherboard causes the problem. If your 3D pen gives you this headache, you have no choice but to buy a new motor. Replace the old motor with a new one. Make sure you also replace the motherboard.
-
3D Pens That Heat Up but Fail to Extrude
This is a problem that needs to be prevented through the proper input of ABS plastic or PLA plastic filament. First, set your 3D pen to its maximum speed. Now ensure you have a correct engagement between the plastic filament and its feeding mechanism. Ensure the plastic is being loaded into your 3Doodler Start.
Whenever you feed the pen with filament, and it reaches the tip, another problem may occur. Here, your pen’s engine will slow down. If this happens, the answer is to discontinue feeding and make sure you remove the plastic. If you want to have a fine version of the image in your imagination, you need your 3D pens working optimally.
Plastic filament failing to extrude is sometimes caused by how you cut the filament. Before you insert the filament in your 3Doodler Start, ensure you have cut the tip perpendicularly. If you don’t cut it, the molten ends will clog your pen’s tip. It will therefore fail to extrude even after it heats up.
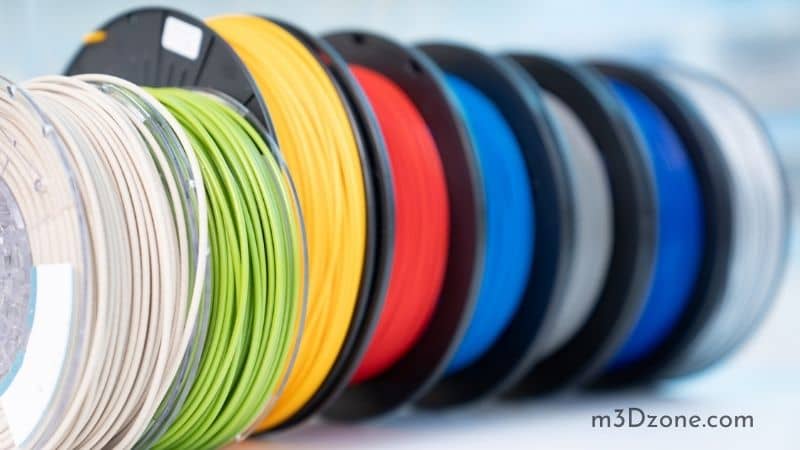
The type of plastic you use also matters. These plastics have different melting points. ABS, PLA, and other plastics melt at a different temperature from ABS filament. Set your 3D pens according to the category of plastic you use.
You can tell whether the temperature is way too high or too low for the specific plastic filament you use. Check whether you will see smoke on the page you are drawing your project on. Visible smoke on one end indicates high temperatures. Extruding slowly, on the other end, indicates too low temperatures.
Now, if you use plastic with a higher melting point and set your 3D pen at low temperatures, the filament will not melt efficiently. As a result, it will not extrude. For such cases, you need to set temperatures according to the filament’s melting point.
How Do I Fix My 3D Pen?
When your 3D pen is not working, it goes without saying that you will attempt fixing it. The success of your attempt depends on how you do the necessary repair. Here are some important 3D pen fixing tips you need to have in mind.
- First, unplug your 3Doodler Start from the power source.
- To avoid touching the hot parts, wait for the nozzle to cool down.
- Now detach the nozzle to get a better view of its interior. If any plastic filament is clogging the tip, be sure to remove them carefully.
- Removing filament that is stuck at the back of the 3D pen requires you to unscrew it.
Similar to how you remove filaments clogging your pen’s tip, remove these filaments. It is important to be cautious to avoid damaging any parts of the pen.
If you have trouble with a 3D pen’s nozzle, the best cause of action is a replacement. Detach it and install a new nozzle. Make sure none of the pins you adhere with is bent.
Conclusion
3D pens fail to work due to any of the reasons discussed in this article. Your first reaction to a pen that is not working is checking whether it is connected to a power supply. Try out different charging cables before progressing to more advanced solutions.

Recommended Reading
How Long Does It Take to Charge a 3D Pen?
A 3D pen requires two hours of connection to a power supply to be fully charged. Connect it to a power supply using the USB cable it comes with after using it.
What Surfaces Can You Use a 3D Pen On?
Are you wondering what surfaces can you use a 3D pen on? In this article, we will cover that and show you the best surfaces you can use your 3D pen safely.
What Is a 3D Pen?
So, what is a 3D pen? It's a pen that produces melted plastic filament through its extruder tip. The filament is heated up to its melting point to form a 3D...