 by Mike Brooks |
Last Updated: September 20, 2021
by Mike Brooks |
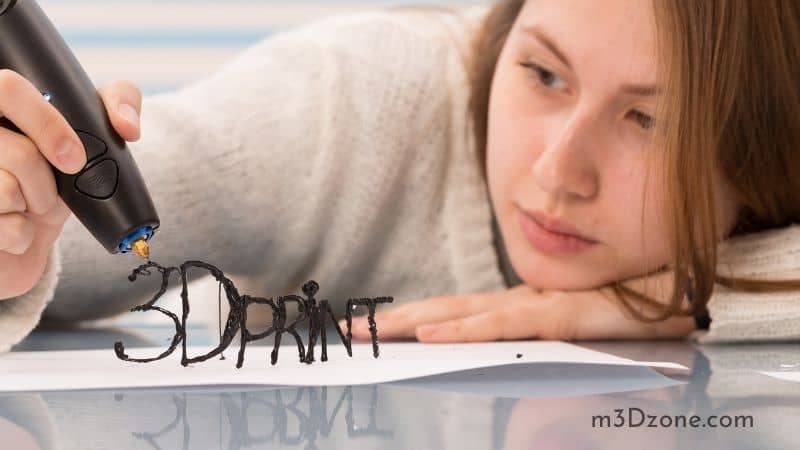
Last Updated: September 20, 2021 Do you want to understand how to use a 3D pen with ease? With this type of pen, you don’t need to know how to use modeling software.
Slicing engines are also not necessary to create a model. Your 3D pen, filament, and a tracing template to begin your 3D drawing project are all you need.
The first step in using a 3D pen is plugging it into your power supply. Temperature adjustability is important to help set the temperature according to the type of plastic filament you use. Step 2 is inserting the plastic filament into the pen. Finally, set the speed and begin drawing.
Here is a more detailed guide on how to use a 3D pen.
How Does a 3D Pen Work?
A 3D pen works by using the same technique as other 3D printing devices such as a 3D printer. It heats the ABS or PLA plastic filament that you insert in it. Once the filament has reached its melting point, it will be forced through the pen’s extruder tip.
The process is almost identical to how the hot glue gun works. Since the ABS or PLA plastic filaments is heated, it becomes soft and comfortable to fuse onto a surface. You can also precisely make any shape you want from the melted plastic filaments.
Let the filaments flow from the nozzle following different channels or directions on the drawing material. If you have filaments of different colors, the object will also have a collection of different colors on different sides.
Related: What Is a 3D Pen?
Shape making is straightforward with 3D printing pens since the filament cools down fast once it’s out of the pen. The object will not lose the shape you create because of the fast drying feature of the filaments.
Operating this ultra-modern device is uncomplicated. It has a reverse and forward button, speed slider, and status indicators. The forward button is when you want to draw by pushing some of the melted plastic filaments out. On the other hand, the reverse button helps you unload the pen.
You can also remove the pen’s tips which makes cleaning much more manageable. If you are an artist who prefers having various tip sizes, you can add a few pen tips to your cart for only a few US Dollars. The tips variety aids your precision in quantity addition (QTY add) of filaments onto a 3D object.
How Do You Use a 3D Pen for Beginners?
The best way to begin making 3D pen drawings is by first learning the art of 2D drawing. You need to understand the speed setting of the pen. Constantly practicing on different surfaces will also help you learn how other surfaces behave when in contact with the melted filaments.
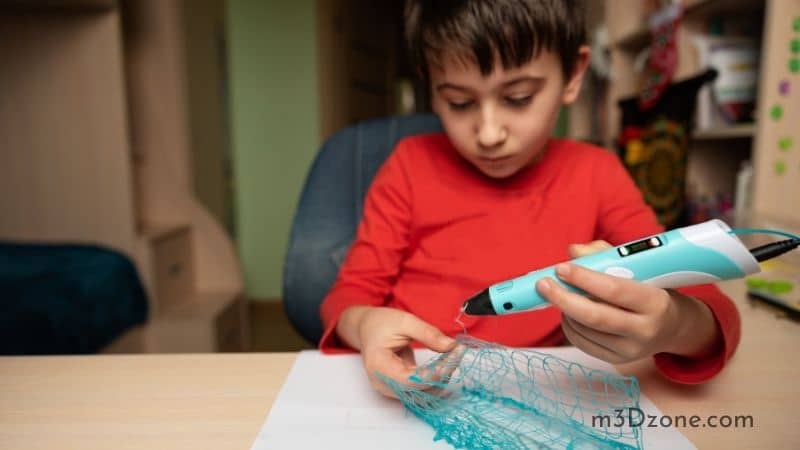
Start by looking for a clean drawing surface. For beginners, the surface needs to be flat. The next step is drawing basic shapes or lines. Sketch as simple as you can capturing enough details for your project.
When you have learned how to make 2D models with ease, you can now use a 3D pen. The 3D pen pulls the plastic filaments through it using a motor.
Use the speed control button to regulate the speed melted filaments will be dripping through the nozzle. If you are making thick chunky lines, it would be best to set the speed control to a higher speed setting. For thinner lines that are detail-oriented, make sure you use slow speed settings.
The trick behind making exquisite 3D drawings is treating the 3D pen like the normal pen. The way you write or draw by guiding your pen on a drawing surface, guide the 3D pen. Make sure its tip touches the surface you are drawing on steadily for precision.
With a 3D pen drawing, you have the advantage of adjusting the heights of the pens’ nozzles. Look at the page of the paper you are drawing on and adjust the heights accordingly. This tactic gives you more control and influence over the object you are drawing.
For your ABS filament to stick better on the drawing surfaces, you need anchor points. Having more anchor points facilitates easier stacking of lines as you continue penning.
VIDEO: How Do You Use a 3D Printing Pen?
Every time you begin drawing a new line, pause for a few seconds as the filament extrudes. This pause at the beginning of each new line will build anchor points. Now proceed with making the line to your satisfaction. At the end of the new line, pause for another few seconds to create another anchor point.
Different 3D objects take varying orders in filament application. For this reason, you must allow the filament to cool before adding a new layer. If you don’t let it cool, you risk deforming the previous layer when adding a new layer.
You don’t want your 3D object to have undesired directions of filament flow, right? This means that you have to be careful about directions as you continue penning. Your pen’s nozzle extrudes filament that has a thickness. If you are not careful, it will smear the filament following the direction you are doodling.
If you are confident about your skills, lift your pen’s tip off the drawing surfaces and wipe off the smear. The downside is that you compromise stability and control. Alternatively, you are free to change your drawing surface’s orientation. As you rotate the surfaces, you will improve visibility, giving you a more precise sight of what you are drawing.
Drawing Surfaces
There is a wide range of surfaces for you to draw on. Depending on your experience and skills, you can use a 3D pen on wood, fabric, glass, or even metal. The melted filament will adhere efficiently to serve your purpose. When you decide to remove it, it comes off these surfaces easily.
Cardboard is the most appropriate surface to use a super 3D printing pen on for beginners. Cardboards are easy to find and cheap to buy. Thanks to technology, manufacturers are making high-quality cardboards rapidly that any guy can buy for multiple uses. Plastic filament also sticks easily on the cardboard, and you can wipe off any reduces without damaging the 3D model.
If you are decorating clothes, you should not be afraid of burning the clothing since the 3Doodler has temperature settings that you can control.
The temperature settings on a 3Doodler also make it uncomplicated to doodle on surfaces such as laminated tables and kitchen countertops. For this reason, people like the owners of Dai Diners club utilize 3D pens to make drawing on their countertops.
As you advance your skills, you will eventually use the pen on surfaces such as glue coated glass surfaces.
Conclusion
Using a 3D pen is as straightforward as we have discussed in this article. You don’t need to watch a youtube video to understand how to use the pen (there is one in the article if you want to check it out).
All you need to do is master the art of balancing the speed settings and temperature according to the surfaces you are drawing on. Use various speed settings to make a variety of 3D objects as you perfect your skills.

Recommended Reading
Are 3D Pens Worth It?
Are 3D pens worth it? 3D pens are worth it only if you do sufficient research according to your needs. Get to know some of the best brands with the HQ quality.
How Safe Is a 3D Printing Pen?
So, is 3D pen safe? Yes, 3D pen printing is safe. The pen has unique sensors that cool it extremely fast when it detects the pen is not in use.
What Surfaces Can You Use a 3D Pen On?
Are you wondering what surfaces can you use a 3D pen on? In this article, we will cover that and show you the best surfaces you can use your 3D pen safely.