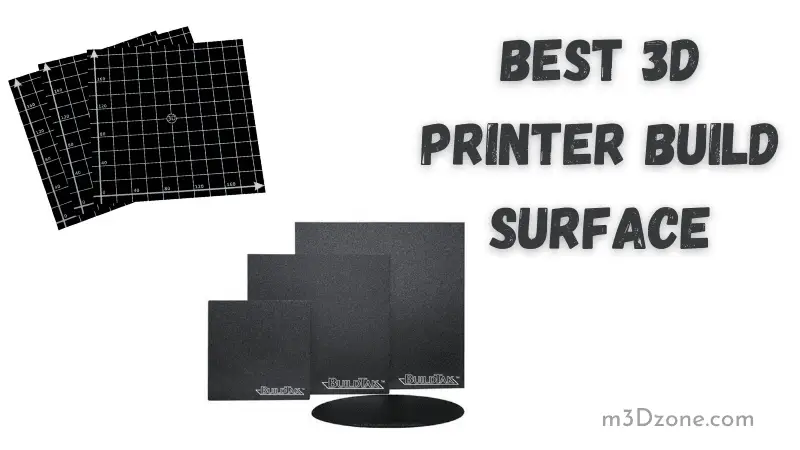
Producing a partly-shapeless thermoplastic blob due to the reduced adhesion on the print bed surface can be frustrating and disappointing, especially when you see your design warp or break apart after taking much time to create it.

As an Amazon Associate, I earn from qualifying purchases. If you make a purchase after clicking on a link I may earn a small commission at no extra cost to you.
You need to ensure that your 3D printing surface adhesion is good to produce excellent 3D prints.
Quick Navigation
Here, you will get the necessary information you need, from the various types to the factors to consider when purchasing a 3D printer build surface.
1. 3D Printer Glass Bed [Industry-leading Build Surface]
Do you need a super-flat and non-sticky bed?
A glass bed is an ideal option. It is stiff. Thus, it offers you a perfectly flat surface that is precise. Furthermore, it does not distort with time. Therefore, it provides you with a solid and level surface for you to continue with your 3D printing operation.
Glass has low thermal conductivity. This quality makes it heat at a slow rate, therefore distributing heat uniformly around the print bed.
To best utilize this option, apply an adhesive for the optimal outcome with your first layer 3D print. You can use hairspray, painter’s tape, or glue sticks. Hairspray’s role is to provide you with a fine first layer.
Also, you can easily wipe off hairspray using water.
Nevertheless, you must handle the glass surface with great care when removing the prints manually from the bed.
Pros
- Easy to clean.
- Lasts longer due to its ability to adjust well to heat.
- Saves you money because you won’t need frequent replacement.
- Can withstand heat hence maintain a flat printing surface.
- Easy to remove prints from the surface, preventing breakage of fragile models.
Cons
- Glass is fragile
2. Polyetherimide (PEI) Sheet: Maintenance-Free Build Surface
PEI sheet is thermoplastic in nature, and it offers exceptional adhesion. Thus, they don’t usually require the addition of extra adhesives. However, the quality of your prints depends on the printer bed leveling.
Furthermore, it is relatively inexpensive and provides adhesion solutions to vast 3D printing materials. They include nylon, ABS, and PLA. PEI sheet is heat resistant hence performs normally up to a temperature 170C.
Better still, you can reuse it. Also, it requires little or no maintenance in your subsequent prints. However, you’ll have to regularly clean your PEI printing sheet to ensure maximum adhesion on your build surface.
Additionally, you can clean the print surface using water or an isopropyl alcohol solution. If you plan to do 3D printing for a while, you should consider a PEI sheet. It will ensure your prints stick well to the surface of your panting bed, hence saving you from disappointments and future frustrations.
Pros
- Relatively cheap, readily available, and easy to install and use.
- Has a level surface finish that stays in perfect condition.
- Offers adequate thermal conductivity in case you are using it on a heated bed.
- Perfect adhesion; thus, there’s no need for glues or tapes.
Cons
- Sticks strongly to prints; you have to be careful when removing your printed items from the bed surface to avoid damaging both the item and bed.
- Easily damaged in case of excessive scraping, or unsuccessfully adjusting the print bed.
3. BuildTak: All-Purpose Build Surface
It’s a popular 3D printing build surface and a multipurpose sheet that has an adhesive back. And you can strip it off and stick it on your printer bed.
It’s easy to install, and you can print all types of materials. Hence, you will not have to change the printing surfaces from side-to-side. BuildTak is durable and easy to remove prints and clean the surface.
To run your 3D printing process smoothly on your Fused Deposition Modeling 3D printer, consider buying a BuildTak build surface. Better still, you can attach a magnetic base to the print bed. The BuildTak sheet is attached to make it easy for you to connect the magnetic base.
You also have the Flex-plate system, which makes it simple to slide the two sheets and move the build plate to remove the print bed parts. That helps you avoid the frustration of prints getting stuck to your print bed.
Pros
- Suitable with brick, HIPS, Wood, Flexible filaments (TPE), and ABS.
- Heat resistant hence doesn’t warp, making it durable.
- Build sheets stick well to all prints hence helping to aid the filament to adhere when printing.
- You can reuse the surface in making multiple prints.
- Establishes a strong attachment between your 3D print with the build surface.
Cons
- Hard to remove your print from the print bed if you calibrate the head too close to your build surface.
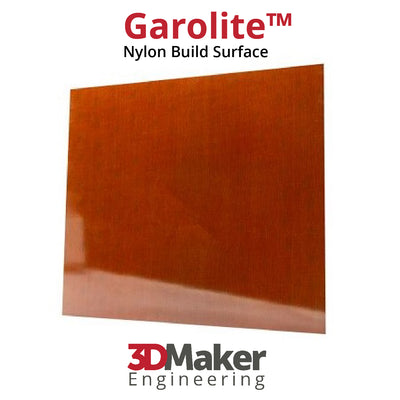
4. Garolite Build Surface: Best for Hard-To-Stick Filaments
Are you using hard-to-stick printing materials like Nylon?
Well, the Garolite plate offers you an excellent solution because it adheres well to nylon (a hard-to-stick filament). Besides, it is compatible with the normal filaments (PETG, TPU, and PLA) and the build plates come with a 3M tape that is temperature resistant that you apply on your build surface.
Check Price at 3D Maker Engineering
Do you have a nonstandard printing bed size?
Worry not.
Garolite surface is easy to cut using a razor blade. Hence you can resize it to fit your printer bed.
Pros
- It comes with a temperature-resistant 3M tape; this ensures the durability of the Garolite build plate.
- Multipurpose: You can use it with the hard-to-stick filaments and the normal filaments as well.
- The ease of cutting enables you to resize it to suit your printer bed.
- Has strong adhesive property for standard filaments and nylon.
Cons
- You will waste some part of the plate for a nonstandard printer bed as you cut it to fit.
Your 3D Models Do Not Stick to Bed?
Well, sometimes everything is set, but your 3D print refuses to stick. The solutions to that include adhesives, leveling your printer bed, adjusting the bed-nozzle distance, and checking bed temperature.
a. Temperature
Check your bed temperature, especially if you are printing on a heated bed. Ensure that you use the right temperature for a particular filament.
b. Level Your Printer Bed
A non-uniform bed disrupts the even distance of the nozzle to the bed. Hence, making printing difficult resulting in the warping of your print. Therefore, for a printer with an adjustable bed, make it level.
c. Adjust Nozzle-Bed distance
There’s always a perfect distance between the nozzle and the printer bed. Not too small, not too large. Put the nozzle too close, and the filament won’t come out.
And if there’s a larger distance between the nozzle and the bed, the filament won’t adhere. So, carry out tests to figure out the most suitable range.
d. Nozzle Speed
Nozzle speed is also a crucial factor in determining if your print will adhere to the bed. Find the appropriate nozzle speed, mostly in your first couple of layers when printing.
e. Apply Adhesives
After checking the nozzle and bed settings, but there’s no change in adhesion, consider applying adhesives directly on your printer bed where your filament lands.
Wrapping Up
From the above comprehensive review on the best 3D printer surface, you can now make the best choice depending on the type of 3D printer and the filament you use.
Each one has its merits and limitations. For a super-smooth build surface, pick a glass build; for stronger adhesion without the need for adhesives, a PEI sheet will suit you best.
Do you handle a variety of filaments? Then BuildTak is the best option for you.
Finally, if you’re using nylon or other filaments that are hard-to-stick on the printer bed, Garilite Build Plate is a perfect choice.
Recommended Reading
How to Make a 3D Model From a Picture in 5 Easy Steps
How to make a 3D model from a picture in 5 easy steps! With a few practice runs, you will be able to quickly turn any 2D pictures into 3D objects. Let's see!
Can 3D Printing Replace Casting?
Can 3D printing replace casting? In the casting process, molten metal or plastic is poured into a mold with a cavity or hollow with the desired shape.
3D Printer Calibration. How to Calibrate 3D Printers
Does your 3D printer calibration affect the print quality of the finished print? Check out our easy guide on how to correctly calibrate your 3D printers...


