 by Mike Brooks |
Last Updated: May 1, 2022
by Mike Brooks |
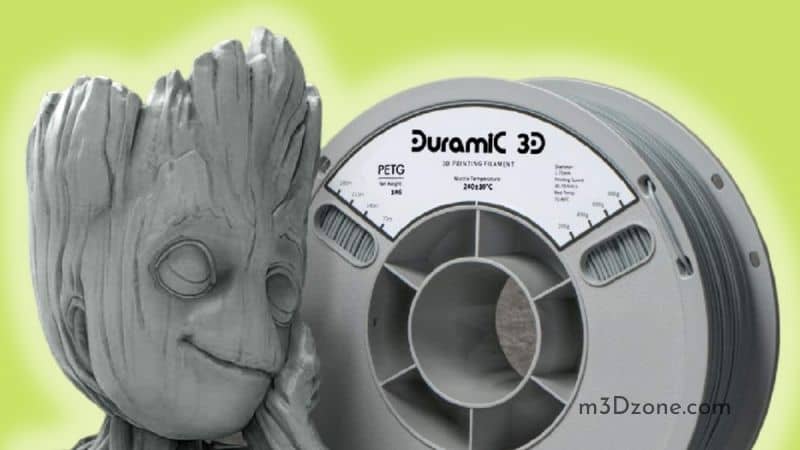
Last Updated: May 1, 2022 PETG is a polyethylene terephthalate (PET) plastic that has been improved with glycol, increasing the quality of the original PET.
As an Amazon Associate, I earn from qualifying purchases. If you make a purchase after clicking on a link I may earn a small commission at no extra cost to you.
As a result, it is less breakable, easy to use, and commonly found in various products such as car accessories and plastic bottles.
Quick Navigation
The modified PET is also among the well-liked 3D printing filaments besides PLA, ABS, PVA, and nylon. PETG is the number one choice for many applications due to its durability and flexibility.
Many people will perform surface smoothing of the part after printing to improve its appearance on functional applications. The process also minimizes layer lines visibility and print deformities and thus, results in more stunning pieces.
Does Acetone Remove/Dissolve PETG?
Acetone is ineffective in PETG removal but can dissolve fresh PETG prints, stick the parts together, and dissolve residue on the print nozzle.
A point worth noting is that making the surface a bit rough before the process will give you better results.
Various PETG solvents include Tolectin /methyl ethyl ketone (MEK), cyclohexanone, dichloromethane (methylene chloride), and toluene. While these substances are helpful and less hazardous than others, they are still dangerous and strictly regulated.
Being a CLP volatile carcinogen, dichloromethane evaporates very fast.
On the other hand, toluene is challenging to come by considering its contribution to manufacturing explosives. Cyclohexanone and Tolectin are core components of illegal drugs, instigating the necessary regulations surrounding them.
How to Smooth PETG Prints: Smoothing Techniques
While it is a hard nut to crack when it comes to finding and purchasing the afore-mentioned solvents, there are alternatives to smoothen PETG or get rid of it from a surface. Here is a list of efficient methods to go around PETG smoothening:
a) Sanding
PETG sanding is more complicated than PLA prints, but the smoothing method isn’t completely helpless. Despite the process being similar for the two prints, the PETG one is more time-consuming.
During PETG sanding, start with a low grit size sandpaper (check at Amazon) to remove the layer line, then go for the high grit sandpaper if the results aren’t satisfying. Avoid directional bias by maintaining a circular motion to prevent visible lines on your print.
b) Sanding by Metal Polish Solution
Sandpaper is not entirely efficient in ridding your surface of the near-microscopic lines. Instead, you can utilize an appropriate polishing compound to fill the gaps and finalize your smoothing process.
Apply a tiny amount of the polishing compound on a cotton cloth and rub the print in a solid circular movement. Wipe the print surface with a clean cloth afterward to ensure an excellent finish to the process.
c) Use Heat Treatment
As PETG is heat-resistant, heat treatment is a viable option for PETG smoothening. Notably, PETG print heat treatment recommended temperature almost equals the melting temperature.
Additionally, it requires precision to avoid damaging your print, proving the process to be strenuous.
To derive the best results from your smoothening process, ensure to reset your heat gun settings to the correct temperature. The heat treatment melts the layer lines and fills the gaps to a microscopic level.
It would be best if you did your research well before taking this option as it requires experience.
8 Easy Tips to Remove PETG From the Bed Without Dissolving It
Here we’ll look at different ways you can take off PETG from the build plate without necessarily dissolving it.
1. Use of Brute Force
This is the most straightforward way of removing PETG from the bed without using any solvent. You need to hold the printer bed intact with one hand while pulling or pushing the print from the bed with the other.
Exercise caution during the process as removing your hand rapidly from the bed may hit other objects. This method is most appropriate for solid prints as weak ones have a high chance of suffering damage, especially in the absence of a smooth surface to grip.
2. Use a Sharp Flat Object
In this method, you can use several objects, such as a spatula, BuildTak spatula, plastic razor, filing knife, paint scraper, or a large flathead screwdriver (check at Amazon).
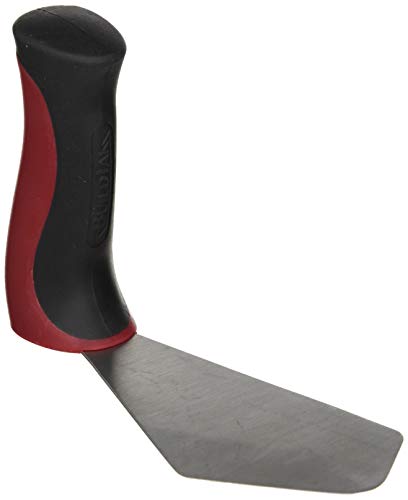
Although the tools are a standard method during PETG removal, they come with risks of hurting yourself as they are sharp. As a prevention measure, ensure the tool is facing away from you while maintaining the stability of your print.
3. Replace Your Build Surface
If your PETG removal is a significant issue, consider replacing your build plate with a flexible one. The bending nature of the platforms makes it easier to flex them and pop off your PETG.
Examples of the highly recommended flexible build surfaces include Adafruit flexible plate BuildTak FlexPlate, Prusa spring steel smooth PEI plate, Ziflex, and Easy-Peelzy (check at Amazon).
When making your choice, you should consider the compatibility of the build plate to your machine and ensure that it has the correct dimensions.
4. Enable a Raft
When preparing your 3D printing model, you can enable a raft in your 3D slicer to better bed adhesion. The raft also separates the PETG from the build plate by providing a buffer layer between them.
You do not require extra care during this method as you will likely set out the raft after use. The raft enhances the ease of the removal process and minimizes the likelihood of warping your PETG.
However, this approach increases printing time and filament materials consumption as significant drawbacks.
Most slicers have adjustable raft settings, enabling you to remove your PETG by taking it off the raft or the building platform. Even so, removing the raft from the build plate is more sensible.
5. Attach Another Build Platform
The process involves adding another surface to your build plate, separating the print from the printing surface. The separating platform has non-printable buffer layers, such as sheets, glue, or tape.
The ideal examples of these additives include regular glue sticks, peelable PEI sheets, and painter’s tape (check at Amazon). After printing, remove the PETG from the additional surface or pull off the entire buffer layer.
6. Use Different Temperatures
This is another excellent PETG removal tactic, requiring you to use different temperatures and material properties for both the bed and the PETG. Allow bed and the print to cool where the printed part is likely to pop off involuntarily.
Alternatively, place the two in a fridge for some time for better results.
7. Floss Off the Print
Although this choice is a bit unusual, it’s very effective. Use a string-like object and repeatedly move it back and forth to produce friction, eventually prompting the PETG to detach from the build platform.
8. Place the Print Under Cool Water
As simple as it sounds, you only need to place the part under running cold or cool water. The objective is to create a temperature difference between the bed and the PETG.
Note that you need to allow the machine to cool before removing the build plate and putting it under the flowing water. It would be best if you also prevent the print from getting wet.
One excellent thing about the approach is that the running water will remove any remaining adhesion.
How to Clean My Extruder After Printing With PETG Filament?
There are various ways in which you can clean your extruder after printing with PETG filament.
One option is to remove the nozzle and heat it enough to melt the fragments until they come out or clean it using a brass brush.
It would help if you considered cleaning its hole with a nylon filament (check at Amazon) or a metal wire.
If all three are not up to the task, get an appropriate drill bit (check at Amazon) (depending on the diameter of the nozzle) to clean it. This last option is risky as it may damage your nozzle and demands great care.
Related: How To Print With Nylon
How Do I Remove PETG Polymer From Nozzle?
To get rid of PETG from the nozzle, follow the following steps:
- Get your extruder heated
- Remove the PETG blob using a plier
- Get the last bits using a brush
- Recalibrate and test your printer
Is PETG Waterproof?
PETG has a good layer adhesion, rendering itself useful in waterproof prints, water bottles, and flower water dishes.
It is also an excellent thermal resistance material, carrying the day among many printing waterproof parts.
Final Words
PETG filament (check at Amazon) is among the best-performing filament materials in the 3D printing world. The advantages it carries along with it are of increased convenience to printing enthusiasts.
Its resistance to chemicals makes it suitable for the storage of alkaline and slightly acidic compounds. It holds a competitive place next to PLA filaments, maintaining its relevance in manufacturing.
Smoothing PETG takes a fundamental approach with minimal chances of making mistakes and requires fewer skills, time, and effort.
Research should be a vital part of everything you do in printing to gamble on the best results afterward. While its filament materials are tough, exercise great caution to veer away from any unnecessary losses in the process.

Recommended Reading
3D Printer Maintenance. The Ultimate Checklist!
3D printer maintenance services ensure that the printer runs well and performs as intended. No more failed prints and enhance the 3D prints quality.
SLS vs SLA in 3D Printing. What Is the Difference?
SLS vs SLA. Both technologies belong to additive manufacturing. SLS belongs to the powder bed fusion family, while SLA relates to the liquid resin family.
Can You 3D Print Silicone?
Can you 3D print silicone? Silicone filaments had been impossible to print. Silicone is recently making advancements in 3D printing. Time will tell!