 by Mike Brooks |
Last Updated: June 22, 2022
by Mike Brooks |
Last Updated: June 22, 2022 More people are using 3D printing to experiment and learn about the technology through trial-and-error approaches.
As an Amazon Associate, I earn from qualifying purchases. If you make a purchase after clicking on a link I may earn a small commission at no extra cost to you.
Recent years have seen substantial advancements in all aspects of 3D printing. 3D printers equipped with cutting-edge components offer the highest quality prints.
Quick Navigation
- What Is 3D Print Bed Adhesion?
- How Can I Make My 3D Printer Bed Adhesion Better?
- What Are the Causes of Print Not Sticking to the Bed?
- Do Glass Beds Have Better Adhesion?
- Does Higher Bed Temp Help Adhesion?
- Can I Use Regular Glass on a 3D Printer Bed?
- Does PLA Stick to Glass? Does PLA Need Bed Adhesive?
- Conclusion
Digitization has also advanced significantly in 3D printers, to the point that modern printing systems are virtually easy to operate.
Despite all the advances in 3D printing technology, best practices in project preparation, and optimal settings, one issue persists for hobbyists and professionals: the adherence of 3D printed items to the print bed.
Continue reading to understand the basics of bed adhesion so that you can have a perfect 3D print every time.
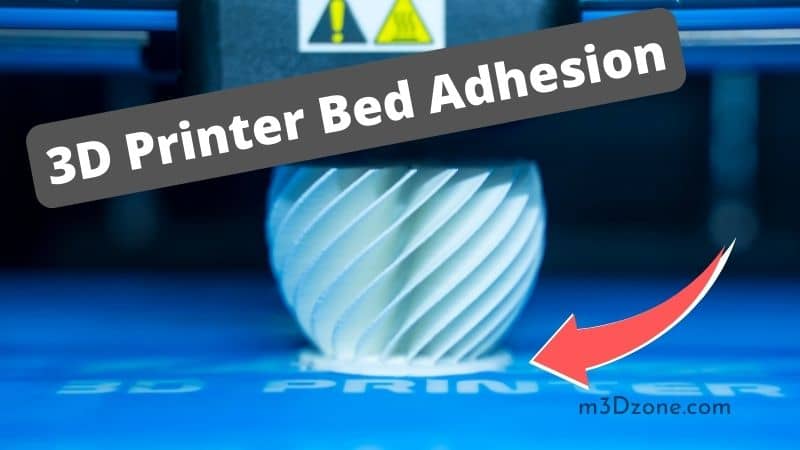
What Is 3D Print Bed Adhesion?
The term “bed adhesion” is typically used by 3D printing technology enthusiasts. It serves as the foundation for the complete print, and as such, it is critical to understand everything there is to grasp because prints will fail without solid bed adhesion.
Since bed adhesion is among the most common concerns in 3D printing, resolving it becomes crucial.
You can classify bed adhesion into two types: bad and good adhesion. Good bed adhesion is when the print’s bottom layer adheres to the 3D printer’s bed (build platform) throughout the printing process.
Moreover, it peels away easily when removing the print from the bed.
Any time the print’s bottom layer loses touch with the bed, it distorts the image and ultimately fails the print quality test. In any case, the loss of contact is always fatal, regardless of how minor or significant it is.
How Can I Make My 3D Printer Bed Adhesion Better?
One of the most time-consuming aspects of learning 3D printing is ensuring that prints adhere to the bed and do not detach midway through the printing process. This is strongly connected to the issue at hand.
Using my printing expertise, I’m going to share with you a few general and specific recommendations that should help your prints stuck on the bed without a hitch. Without further ado, let us begin!
Adjust the Print Bed to the Proper Level
Leveling the bed of the 3D printer guarantees that the nozzle is always at the same distance from the bed. It results in a nice initial layer, whether it is in the middle, sides, or corners.
This enhances bed adhesion and the likelihood of a successful print. You can try auto-leveling with a BLTouch sensor.
Clean the Bed
After several prints, the build surface of the 3D printer will begin to acquire dust and other particles that might cause bed adhesion problems. However, in this case, the primary issue is the oil on your fingers from contacting the build platform surface when erasing prints.
Always clean the bed using IPA (isopropyl alcohol) and a soft cloth. We would not advocate using a paper towel because some paper particles may remain on the bed.
As for how frequently one should do this, it truly varies. Clean the bed after every 5 – 10 prints, and you won’t encounter any problems, but you must choose what works best for you. If cleaning it after each print is necessary, so be it.
Use Brim or Raft to Print
A brim is a sequence of extrusions surrounding the model, increasing the contact surface area, hence adhesion. It is, in essence, a more significant initial layer. In contrast, a raft is a basis that you can print first, followed by the model.
Hobbyists use both to improve print bed adhesion. You should never strongly suggest utilizing a raft because it consumes more material and leaves several unwanted marks on the print model.
In contrast, the brim also improves adhesion while being relatively easy to remove and leaving very few, if any, marks on the model.
Applying Glue Stick or Spray Adhesive
Most adhesives help 3D prints adhere to the glass build plate. However, it would be best if you never used a typical adhesive. It might not be heat-resistant or sturdy enough to allow you to remove your printed product from the print plate without damaging it.
Now, because the glue stick aids in the print’s adhesion to the bed, removing it can be nearly hard, especially when the bed is hot. Allow the heated print bed to cool down to ambient temperature for extracting the model to be a breeze.
To remove the adhesive from the glass bed, thoroughly clean it with hot water and detergent and then correctly dry it before reinstalling it.
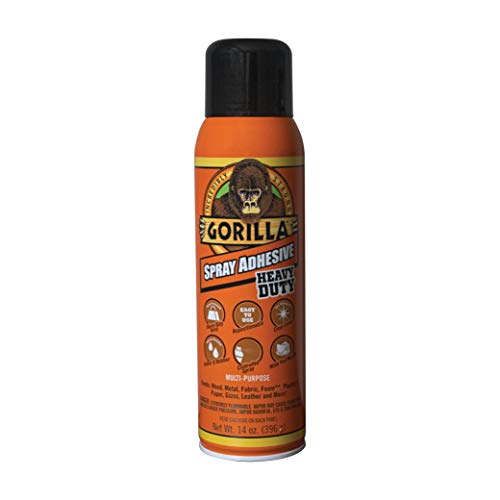
Apply a 3D printing-specific adhesive offered in a glue stick* and a spray adhesive*. Many individuals use hairspray in place of glue or sticky spray.
Applying Hairspray
A modest quantity of hairspray applied to the glass bed has a similar impact as the glue stick since it enhances bed stickiness. In terms of which is superior, the glue performs somewhat better in my experience, particularly when printing ABS.
Keep in mind that, with the glue stick, you will need to allow the ‘bed cool’ so that the 3D print comes off with ease.
However, this is not the case with the hairspray, and even after allowing the bed to drop to room temperature, the print will be more challenging to remove.
Using Blue or Painter’s Tape
Applying a few strips of painter’s or blue tape to the print bed may aid increase adherence. However, you must ensure that the strips don’t leave gaps between them.

While printing ABS, the filament will stick quite well to the tape. Removing the print is also a breeze because all you have to do is grab the tape and begin peeling it away from the bed. The print will naturally follow.
Now, even if the 3D print adheres to the tape, you will have an issue when the tape does not adhere well to the bed, and the warping force of the ABS pulls the tape so strongly that it detaches.
What Are the Causes of Print Not Sticking to the Bed?
Suppose the 3D prints do not adhere to the print bed. It is possible that the cooling settings are wrong or the print bed is uneven. In any case, you can achieve increased adhesion by using adhesive spray, tape, or specific additional prints such as brims or rafts.
You can determine the adhesion of the printing material to the print plate by the interplay of various elements before and during printing. If the print adheres poorly or entirely slides off, it is not usually the printer’s fault but rather the user’s approach.
Consumers have access to a variety of easily usable tools and solutions. However, experts fear that several 3D printing enthusiasts, in particular, rely too heavily on fast solutions – including adhesives.
According to them, whether the printing bed is heated or not, at least PLA must cling to the plate without external solutions.
This is likened to automobile rust. Spray painting rusty areas temporarily fixes the problem, but it doesn’t eliminate the rust itself.
Even if the print bed is perfectly aligned, the wrong gap between the print bed and nozzle might cause your print object not to adhere. Poor adhesion on the print bed can have several reasons, all of which are listed here.
- Wrong print speed
- The distance between the nozzle and the print bed is large
- Inappropriate temperature and cooling settings
- Low-quality attributes of the printing platform
- An absence of support staff (solutions and auxiliaries independent of the filament)
Since poor adhesion to the printing platform might occur even under ideal conditions and with quality material, you should recommend utilizing assistance from the start.
Do Glass Beds Have Better Adhesion?
A 3D printing glass bed is the ideal option when striving for a faultless print bottom. Not only that, but it’s surprisingly simple to erase prints from glass.
No one build plate is optimal; what is preferable for you is highly dependent on the type of print you want to make.
However, using a glass bed for your 3D printer has several advantages that are worthwhile, including:
- Glass beds release prints with ease
- Their flat, smooth, and stiff surfaces make it easy for cleanup
- Glass beds spread thermal energy uniformly
- They can stand repeated heating and contraction; hence durable
- Glass beds will save you money down the road due to little need for replacement
In general, what renders glass a viable alternative is a consistently flat, strong, thick, and inexpensive material.
Does Higher Bed Temp Help Adhesion?
Because you can print PLA at a low temperature, the possibility of warping is minimal.
While printing without a heated bed is possible in most circumstances, raising the bed temperature improves first layer adhesion, resulting in less warping and enhanced print quality.
Besides, it does not increase the “adhesive” characteristics of the 3D prints but rather deteriorates them.
However, it stiffens the bottom section on its own, aiding in reducing warping in particular model geometries, such as those with corners. If you increased the temperature of your bed and the warping became worse, try lowering it.
Can I Use Regular Glass on a 3D Printer Bed?
While 3D printing on glass is an excellent option for adhesion and a lovely finish on the base of 3D prints, some individuals can’t get the idea of it. 3D printing on this glass is easy to clean and maintain, making it a joy to use.
You should utilize adhesives to prevent your 3D prints from warping around the edges due to poor adhesion on the glass bed. 3D printing on glass necessitates the use of a heated bed.
Borosilicate glass (check at Amazon) is a good choice if you want to save money, time, and effort while still getting high-quality prints, impeccable surface quality, and minimum adhesion concerns.
Does PLA Stick to Glass? Does PLA Need Bed Adhesive?
One of the challenges that 3D printer users have is getting prints to adhere to the build plate. Whenever a print does not adhere correctly to the build plate, it may shift throughout the print process, failing.
Naturally, manufacturers have created countermeasures. The heated build plate on Ultimaker 3D printers (check at Amazon) improves bed adhesion and reduces warping and curling.
Some manufacturers have devised a more straightforward approach – MarkForged suggests that users produce a sticky coating on the build plate using an Elmer’s Glue Stick (check at Amazon).
The fundamental fact about bed adhesives – whether they’re inexpensive glue or costly tapes – is that they all serve the same purpose: to avoid warping, curling, and print failure and minimize waste.
It is crucial to highlight that not every material needs a bed adhesive to adhere to the build plate.
Without adhesive, PLA, for example, adheres effectively to a hot build plate. Applying adhesive or tape decreases the danger of warping and curling when using adhesive.
Conclusion
If print objects aren’t adhering to the build plate, you don’t have to worry about it. What you do with these tips is up to your discretion. In the world of 3D printing, there is no one-size-fits-all.
Compared to painting, 3D printing demands a high level of imagination to hope for a stunning print outcome.
If you take the time to prepare your prints, they will stick to the printing plate better and can turn into your masterpiece.

Recommended Reading
3D Printing Over Extrusion. Easy Ways To Fix This!
3D printing over extrusion happens when your 3D printer extrudes too much material. Over-extrusion ruins the quality of your 3D models.
3D Printer Ventilation. Ventilate Your 3D Printer Correctly!
3D printer ventilation refers to mechanisms to tackle harmful fumes produced during the 3D printing process. A well-ventilated room ensures that the small...
How to Fix a 3D Printer Not Printing in Center
A 3D printer not printing in center is a waste of materials and time, which is an awful experience. You certainly need to put it under control. Find out...